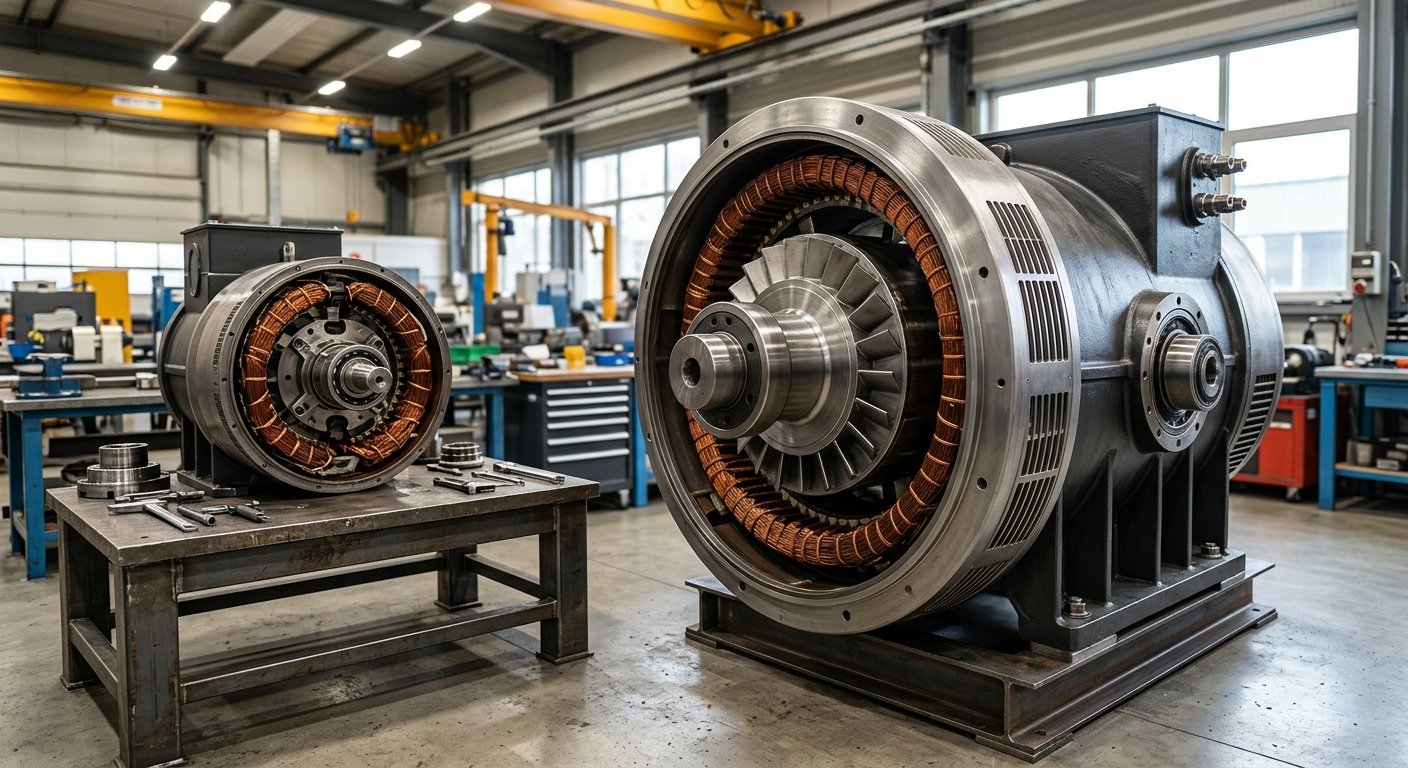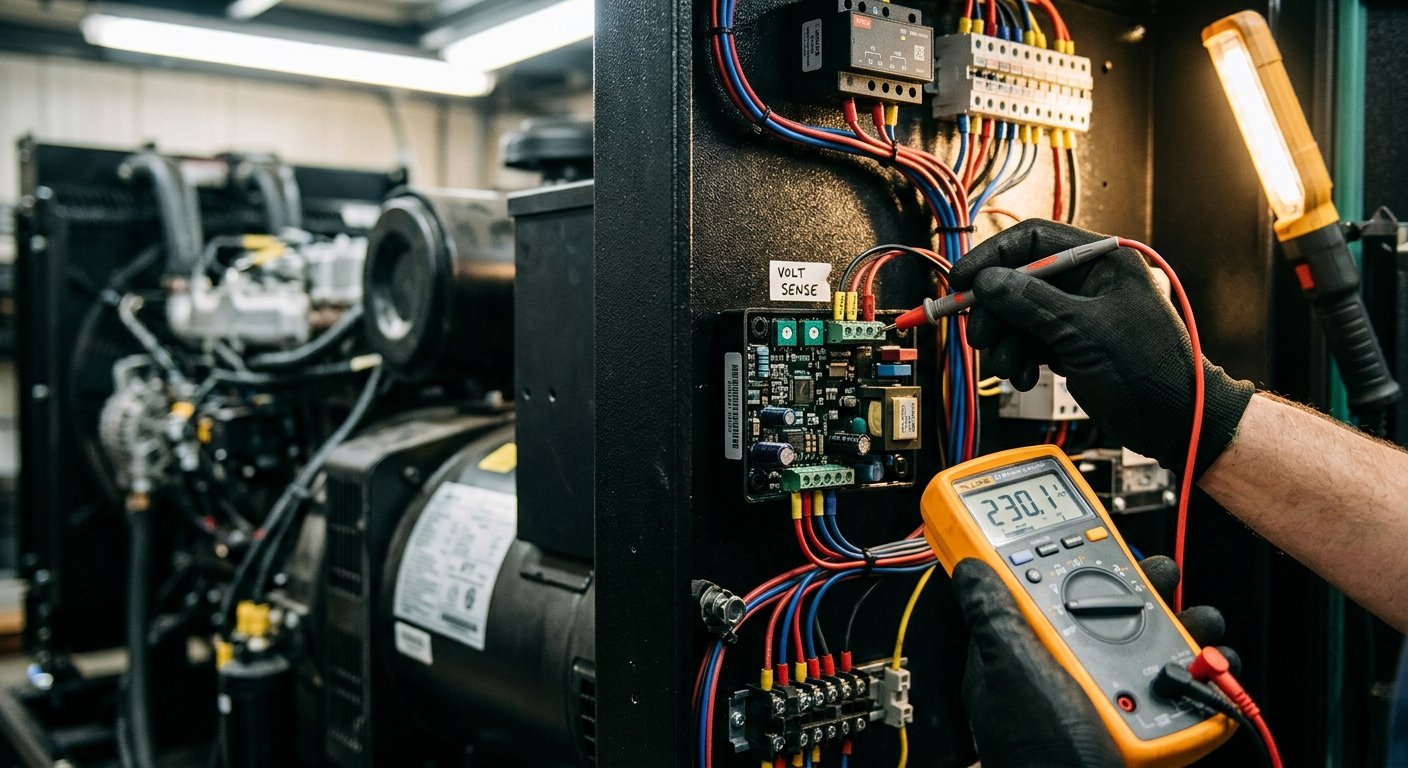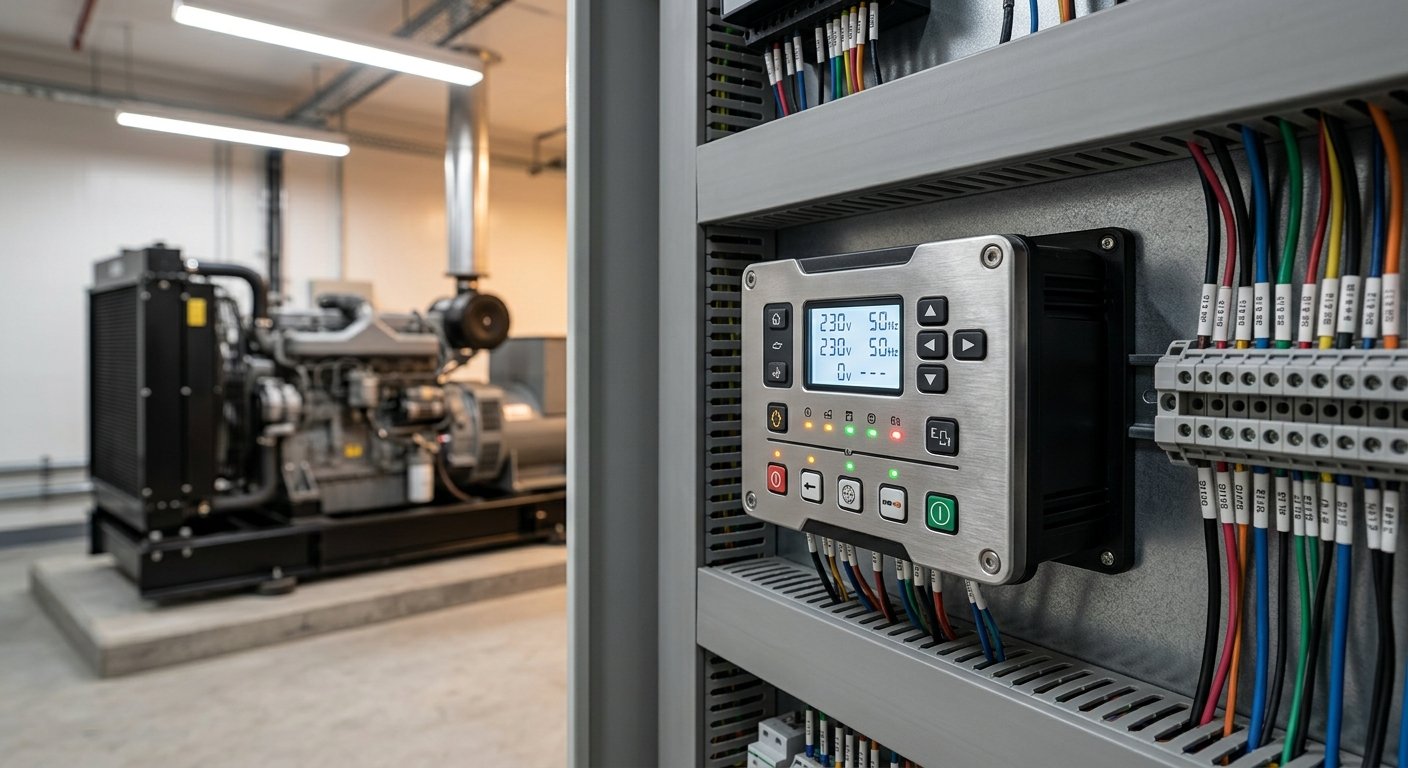



An automatic voltage regulator quietly does one of the most critical jobs on any generator—keeping output voltage stable under changing load conditions. When it fails, it usually tells you exactly why, if you know how to listen. Generator AVR fault codes are that language. Whether you’re a generator technician diagnosing a commercial standby unit or a facility manager troubleshooting an unexpected shutdown, reading these codes correctly saves time, money, and equipment.
This guide walks you through the diagnostic process step by step, covering everything from basic automatic voltage regulator diagnostics to knowing when a repair becomes an AVR replacement.
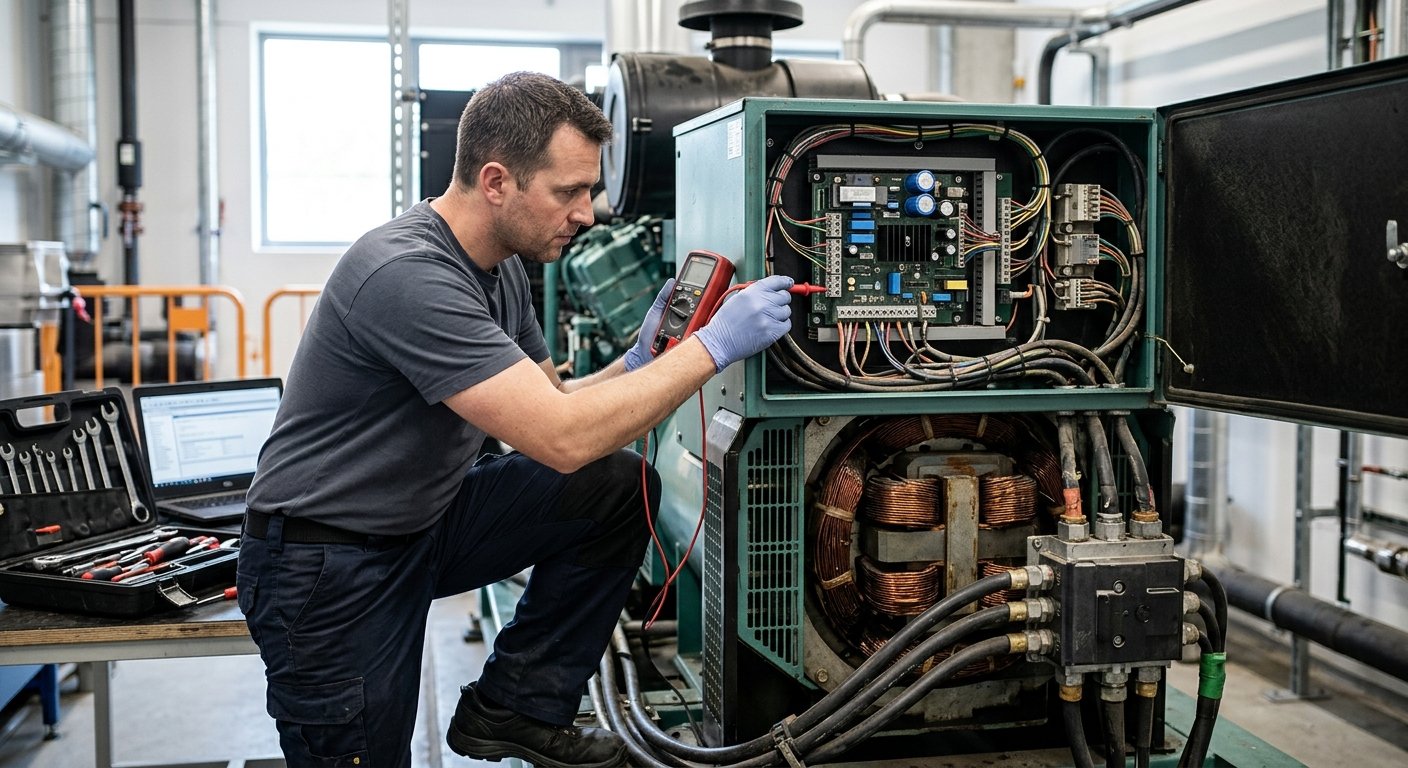
The automatic voltage regulator monitors generator output voltage and adjusts excitation current to the alternator field windings, keeping voltage within spec regardless of load fluctuations. Most modern AVRs include built-in protection functions—overvoltage, undervoltage, loss of sensing, overexcitation—and when these protections trip, the unit logs or displays a fault code.
Common causes of AVR failure include:
According to the NFPA 110 standard for emergency and standby power systems, standby generators are required to undergo regular load testing and inspection—a process that frequently surfaces early-stage AVR issues before they become full failures.
Before you touch a test lead, collect the following:
Document everything before beginning any automatic voltage regulator diagnostics. A site that lost power during a storm load event tells a very different diagnostic story than one that’s been showing voltage drift for weeks.
Modern AVRs display fault codes in one of three ways:
Older and simpler AVRs use LED blink patterns. A red LED flashing three times, pausing, then flashing twice typically represents a two-digit code—read as 3-2, or fault code 32. Count carefully and record the full sequence before cross-referencing the fault table.
Mid-range and commercial AVRs display alphanumeric codes directly. Write down every active code displayed, including any that clear quickly. Some units cycle through multiple faults on a single screen.
Higher-end units connect via USB, RS-485, or CAN bus to diagnostic software. These platforms log fault history with timestamps, which is invaluable for pattern recognition. If your AVR supports software readout, use it—you’ll see faults that may have cleared before you arrived on site.
Never assume a fault has cleared just because the light is off. Many AVRs require a manual reset after the root cause is addressed. If you reset without fixing the underlying condition, the fault returns—often faster and harder.
Common generator AVR fault codes fall into several categories. Here’s what technicians encounter most often:
Output voltage has exceeded the upper protection threshold, typically 10–15% above nominal. Causes include: engine running over-speed, incorrect AVR gain settings, a shorted voltage sensing resistor, or a failed potentiometer. Check engine RPM first—if speed is correct, the problem is internal to the AVR or sensing circuit.
Output has dropped below the minimum threshold. This can indicate loss of excitation, failed rotating diodes, an open field winding, or incorrect sensing wiring. Don’t confuse a load-related voltage dip with a true UV fault—check under no-load conditions first.
The AVR is not receiving a valid voltage signal from the sensing terminals. Check sensing wiring continuity and verify the correct sensing voltage range is selected on the AVR. A broken wire or corroded terminal is frequently the cause here—not the AVR itself.
The AVR is commanding more excitation current than the system can safely handle. This often means a short in the field winding or a stator fault. Always check field resistance (compare measured value to spec) before condemning the AVR.
These codes typically indicate a failed internal component—a damaged IGBT, blown protection circuit, or corrupted firmware. Internal faults usually mean replacement, not repair, unless you have component-level repair capability.
One of the most expensive mistakes in how to troubleshoot AVR problems is replacing the AVR when the real fault is elsewhere. Before ordering a replacement, verify these items with a calibrated multimeter and clamp meter:
The OSHA electrical safety standards apply to generator maintenance work—always de-energize and lock out/tag out before accessing internal alternator components. Working inside an energized generator control panel requires appropriate PPE and qualified personnel.
Once you’ve identified and corrected the root cause, reset the AVR per manufacturer procedure. A reset typically involves:
If the same fault code returns within minutes of restart, either the root cause wasn’t fully resolved or the AVR itself is damaged. At this point, you’re looking at replacement.
If diagnostics confirm the AVR is the failed component, replacement is straightforward—but only if you select the correct part. Key specifications to match:
Buying directly from the manufacturer or a manufacturer-authorized source matters more than most people realize. Gray-market AVRs may appear identical but use inferior components that fail earlier, often outside warranty and without technical support. MTS Power Products supplies AVRs and generator parts sourced directly, with real technical support from an experienced team—not a call center reading from a script.
The IEEE Power & Energy Society publishes standards for rotating machinery protection that inform how modern AVRs are designed and rated—useful background for engineers specifying replacements in critical power applications.
Incorporating AVR checks into your standby generator maintenance routine prevents most of these failures from becoming emergencies. Best practice intervals:
Immediate fault codes on startup usually indicate a pre-existing condition—loss of sensing wiring, a failed rotating diode, or an internal AVR fault. Check sensing circuit integrity and rotating diode condition before assuming the AVR itself failed.
You can reset it, but the fault will return—often faster than before. Repeated trips without correction can damage the AVR’s internal protection circuits or the alternator windings. Always diagnose first.
Match output voltage range, excitation current rating, sensing voltage type, and power supply input. When in doubt, provide the original AVR part number and alternator model number to a knowledgeable supplier who can confirm compatibility before you order.
A quality AVR in a well-maintained system can last 10–15 years or longer. Units in harsh environments—high humidity, vibration, or frequent overload—may require replacement in 5–7 years. Regular inspections extend service life significantly.
Generally, no. Voltage instability damages connected equipment and can accelerate winding insulation breakdown. Some faults shut the generator down automatically; others allow it to run in a degraded state. Continued operation under an active fault is not recommended for critical loads.
Reading generator AVR fault codes correctly is the difference between a 30-minute fix and a costly misdiagnosis. If your diagnostics point to AVR replacement—or you need technical guidance on which unit fits your alternator—MTS Power Products is the place to start. We carry AVRs, transfer switches, battery chargers, governors, and more, and our team provides the kind of direct, knowledgeable support that comes from actually working with this equipment for years. Reach out today and get the right part the first time.