


Generator transfer switch installation is the only safe method for connecting a backup generator to your home’s electrical system. Without a transfer switch, you risk dangerous electrical backfeeding, equipment damage, and electrocution.
Quick Installation Overview:
A transfer switch is critical for safety: it prevents backfeeding (generator power flowing into utility lines), protects your generator from damage when utility power returns, and isolates your home from the grid to safely power selected circuits.
As one manufacturer states: “A transfer switch isolates your home from utility power to prevent generator power from back-feeding down utility lines.”
The installation involves mounting the switch, connecting essential circuits like your refrigerator and furnace, and installing an exterior power inlet box. While some homeowners attempt this as a DIY project, professional installation is strongly recommended due to the high-voltage electrical work. Many areas require professional installation by code, and improper work can void warranties or create serious safety hazards.

Easy generator transfer switch installation glossary:
A generator transfer switch is a specialized electrical panel that creates a safe bridge between your home and a backup generator. Its primary function is to ensure that your home is never connected to both utility power and generator power at the same time, using a “break-before-make” design.
This is critical for two reasons. First, it prevents “backfeeding,” a dangerous scenario where your generator sends electricity back into the utility lines, endangering utility workers. Second, it protects your generator from damage when utility power is restored. For these safety reasons, the National Electrical Code requires a transfer switch for any standby electrical system. You can learn more about the mechanics in our guide on How Automatic Transfer Switch Works.
Choosing between a manual and automatic switch depends on your budget, convenience needs, and the type of generator you have.
| Feature | Manual Transfer Switch | Automatic Transfer Switch |
|---|---|---|
| Operation | You flip switches by hand during outages | Detects outages and switches automatically |
| Cost | Budget-friendly upfront investment | Higher initial cost for advanced technology |
| Convenience | Requires you to be home and take action | Works even when you’re away |
| Typical Use | Portable generators, essential circuits only | Standby generators, whole-home backup |
Manual transfer switches require you to start your generator and manually flip switches to direct power. They are a reliable, budget-friendly option like the popular Reliance Controls Pro/Tran 2, perfect for powering essential circuits with a portable generator.
Automatic transfer switches detect outages and switch power for you. They offer maximum convenience, especially if you travel or want whole-home backup, but come at a higher initial cost. Learn more in our guide to the Automatic Transfer Switch for Generator.
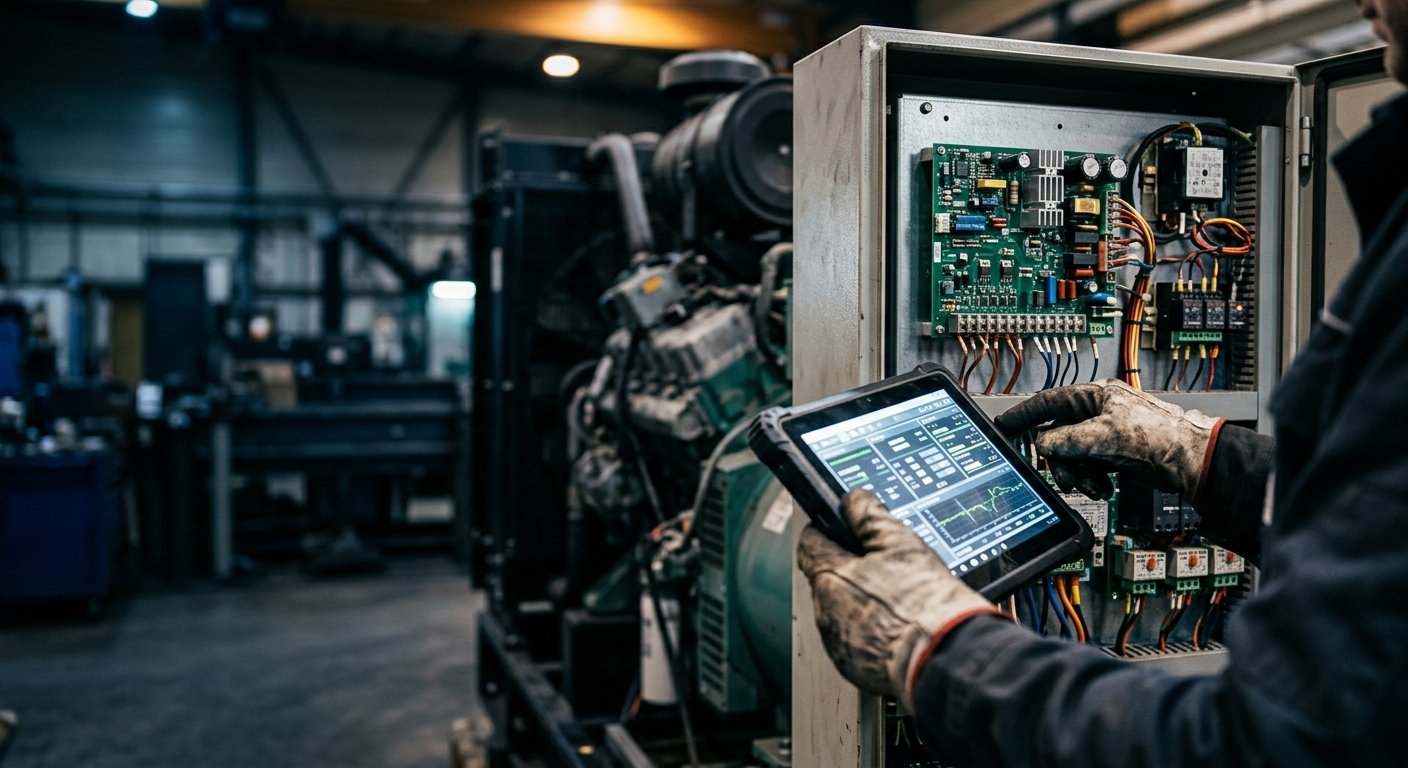
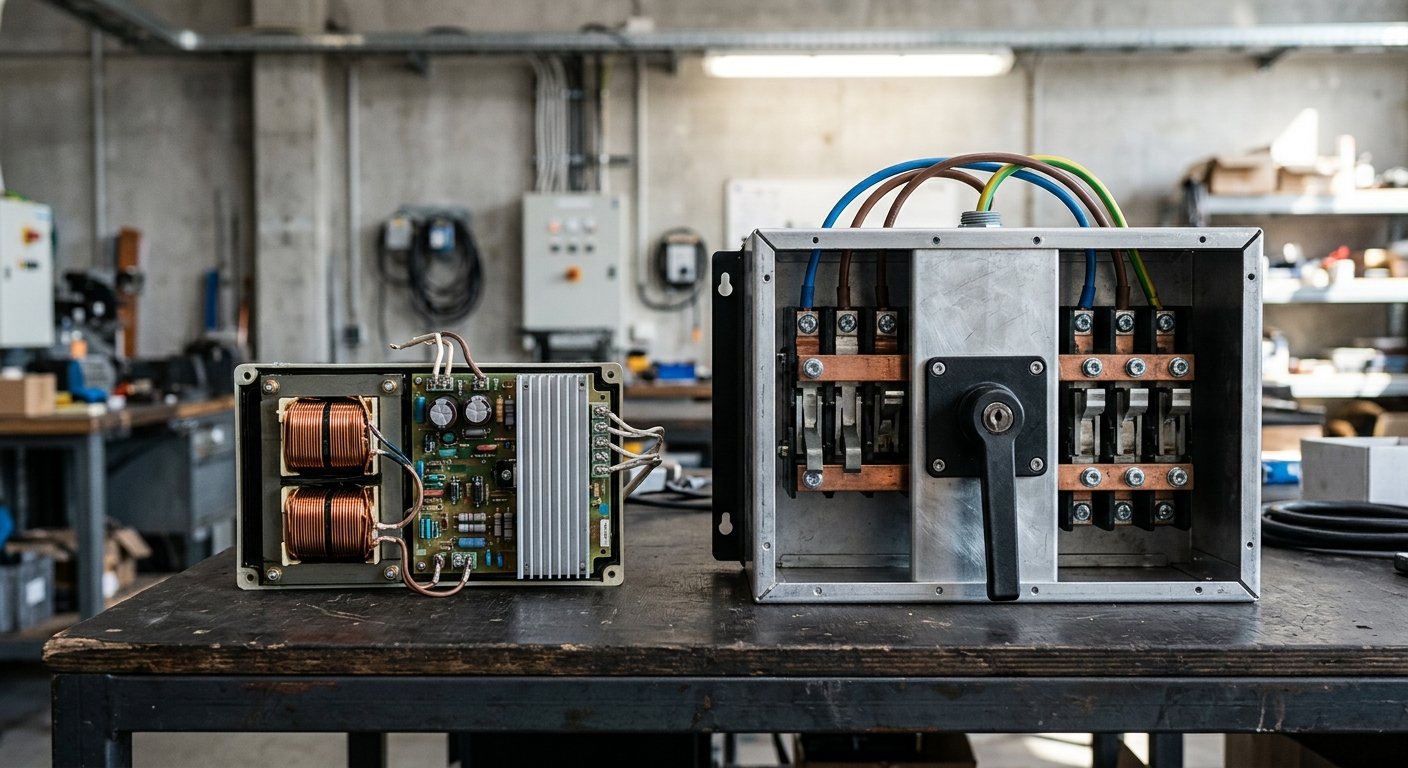
Understanding the parts of a transfer switch helps clarify why proper installation is so important.
For more advanced features, explore our guide on Automatic Transfer Switch Controls.
Proper preparation is key to a safe and successful generator transfer switch installation. This involves correctly sizing your equipment, gathering the right tools, and adhering to strict safety protocols.
First, identify the essential circuits you need during an outage: refrigerator, freezer, furnace fan, well pump, and key lights and outlets. Next, calculate your power needs by adding the running watts of all these appliances. Then, add the single highest surge watts (the extra power needed to start motors) from your list to determine the minimum generator size required. For a safety margin, multiply this total by 1.25. Most portable generators (5,000-7,500 watts) can handle essential circuits if you manage the load by starting appliances one at a time.
Essential tools and materials include a manual transfer switch kit, appropriately sized electrical cable, conduit, a power drill, insulated screwdrivers and pliers, wire strippers, a voltage tester, a hammer, a tape measure, and wire connectors.
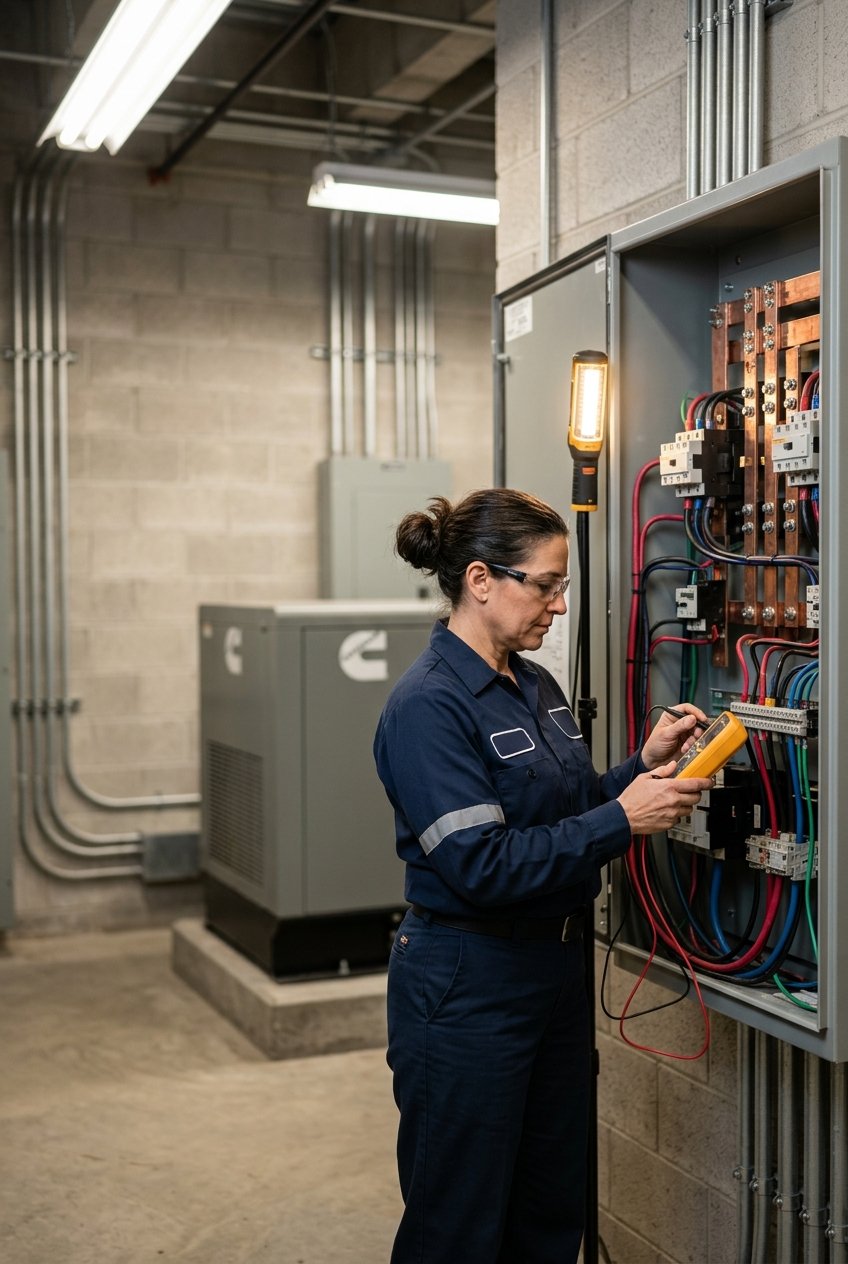
Working with your home’s main electrical panel is extremely dangerous. High voltage is present and can cause fatal electrocution. Always take the following precautions:
Because a portable generator can’t power everything, you must choose your circuits wisely. Prioritize critical loads like the refrigerator, furnace, and well pump. Map these circuits to your transfer switch and label everything clearly.
It’s also crucial to balance the load across your generator’s two electrical legs. Distribute your 120-volt circuits as evenly as possible between the two sides of the transfer switch. For example, if the refrigerator is on one leg, put the furnace on the other. The wattmeters on the transfer switch will help you monitor and maintain this balance. Avoid starting all appliances at once; bring them online one by one to prevent a power surge that could trip the generator’s breaker.
This guide outlines the steps for a manual generator transfer switch installation. However, this is high-voltage work with significant risks. Improper installation can lead to electrocution, fire, equipment damage, and may violate the National Electrical Code (NEC) or local laws.

Professional installation is always the safest option. A licensed electrician can complete the job in 4 to 6 hours for an average cost of $350 to $700, ensuring safety and code compliance. If you are not an experienced electrician, hire a professional.
If you have the requisite experience, follow these steps carefully.
Proper placement is the foundation of your installation.
CRITICAL: Turn the main power breaker OFF and verify with a voltage tester before removing the panel cover.

This step connects your chosen circuits to the transfer switch.
After installation, thorough testing is essential to ensure your system works correctly during an actual emergency. Perform your first test on a clear day when you are not under pressure.

For more technical details, our guide on How to Wire an Automatic Transfer Switch for a Generator offers valuable information.
When a real outage occurs, follow these steps:
For more on what’s included in a setup, see our article on Generator Transfer Switch Kit: What to Know.
It’s common to have questions about generator transfer switch installation. Here are answers to the most frequent concerns we hear from homeowners in South Florida and beyond.
For this project, hiring a professional is almost always the right choice. Here’s why:
Professional generator transfer switch installation is an affordable investment in your home’s safety.
This investment ensures your backup power system will work safely and reliably when you need it most.
Smart load management modules help a smaller generator power more of your home by preventing overload. They work by intelligently prioritizing loads.
These modules, such as Smart Management Modules (SMM), monitor your generator’s output. If the generator approaches its maximum capacity, the module automatically and temporarily sheds non-essential, high-power loads (like A/C units) to ensure critical circuits remain powered. Once the load decreases, the shed circuits are brought back online.
This technology, found in systems like Generac’s Smart Management Modules, protects your generator from damage and provides a more stable power supply. It’s a smart way to maximize the efficiency of your backup power system. You can learn more about advanced automatic systems in our guide: Power Shift: All You Need to Know About Automatic Transfer Switches.
A properly installed generator transfer switch is the cornerstone of a safe and reliable home backup power system. It transforms a portable generator into an integrated solution that protects utility workers, your equipment, and your family during a power outage. By providing complete control over your home’s essential power needs, a transfer switch ensures your refrigerator, furnace, and other critical devices stay running.
We’ve emphasized that professional installation remains the gold standard for safety and reliability. The investment of $350 to $700 for a professional job guarantees code compliance and provides peace of mind that your system will function flawlessly when you need it most. This isn’t just about following rules—it’s about protecting your family and your property.
For professional-grade Generator Automatic Transfer Switch solutions and expert advice in South Florida and beyond, trust the direct-source advantage of MTS Power Products. Located minutes from Miami International Airport and the Port of Miami, we offer worldwide delivery.
Our own McPherson Controls line features cutting-edge power control technology, including programmable displays and advanced switch mechanisms for improved control and safety. With features like remote monitoring, our systems ensure your home remains powered when it matters most.
Whether you’re preparing for hurricane season or a winter storm, investing in a generator transfer switch installation today pays dividends in comfort, safety, and peace of mind for years to come.