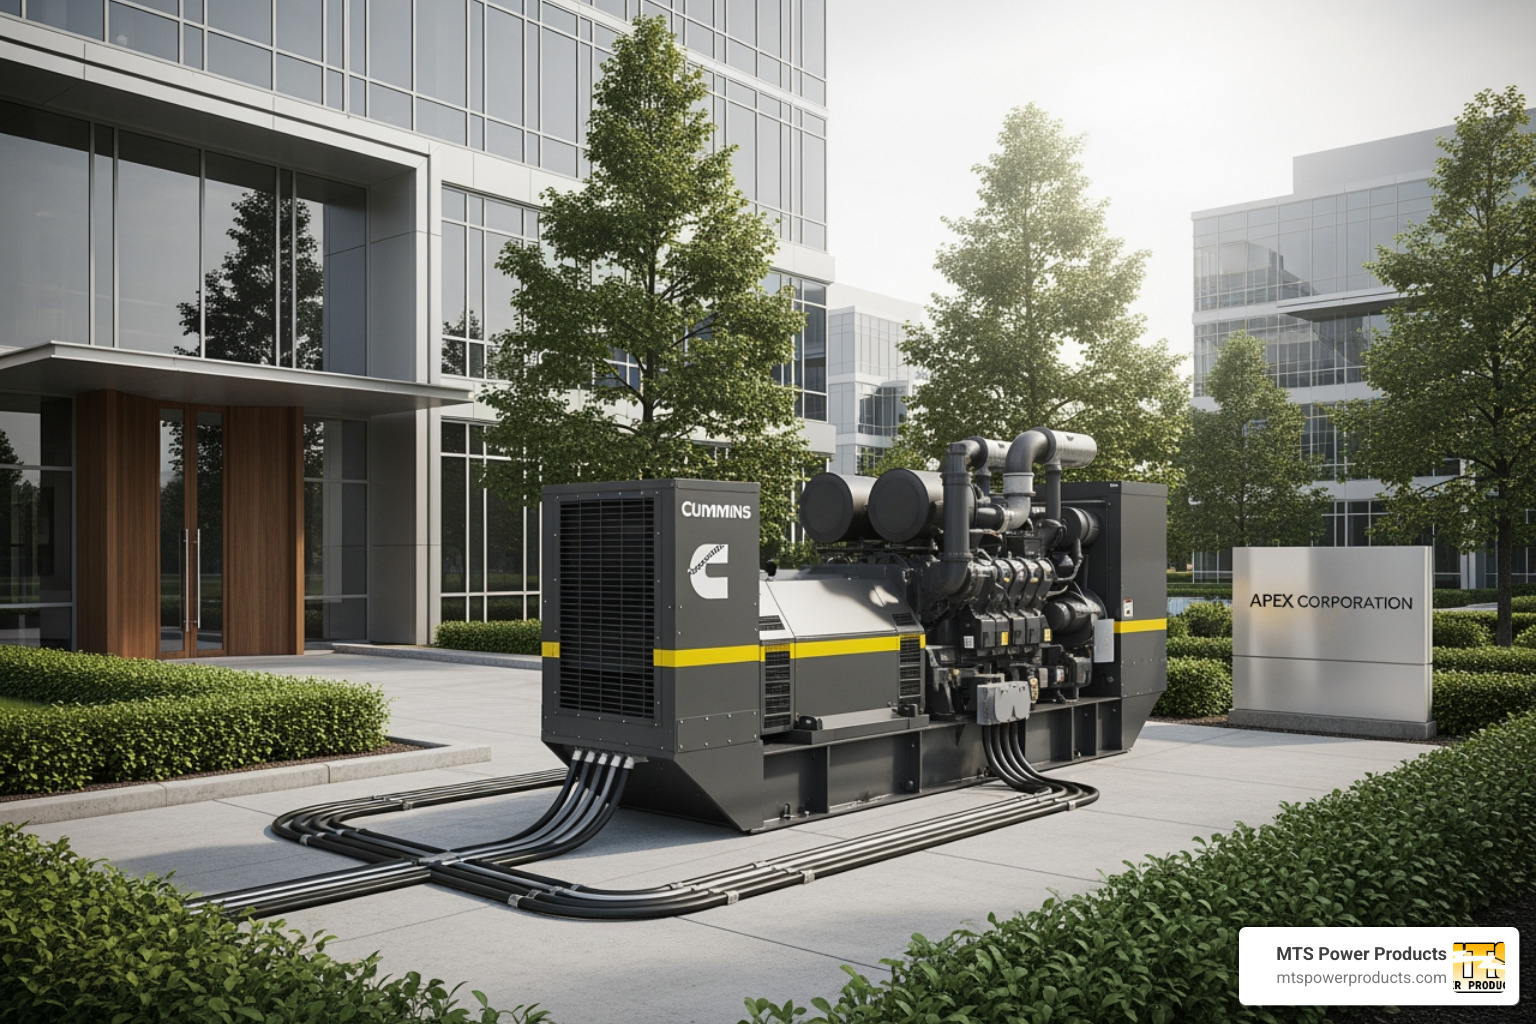


Generator voltage regulator testing is key to ensuring your backup power system delivers stable electricity when you need it most. A failing voltage regulator can render your generator useless, whether you’re protecting a factory from downtime or a South Florida home during hurricane season.
Quick Testing Checklist:
The voltage regulator is your generator’s “brain,” monitoring output and adjusting the magnetic field for stable power. A faulty regulator can cause dangerous voltage levels—potentially up to 250 volts—destroying equipment and creating safety hazards.
Modern digital voltage regulators maintain accuracy within ±0.25% to ±0.5% of the set value, while older analog units manage ±1% to ±2%. This precision is critical for protecting sensitive electronics in data centers, medical facilities, or modern homes.
Experts recommend checking your voltage regulator every 200 operating hours to prevent equipment damage or power loss during an emergency.

Simple guide to generator voltage regulator testing terms:
A generator’s voltage regulator, or Automatic Voltage Regulator (AVR), acts like cruise control for electricity. It keeps the output voltage stable regardless of load changes, ensuring a consistent, safe power supply for sensitive electronics.
It works in a continuous three-step process:
The AVR is connected to the generator’s main electrical components:
The AVR senses the stator’s output and sends controlled DC current to the exciter, which feeds the rotor. This electromagnetic induction generates your AC power. You can learn more about scientific research on voltage stability.
Modern AVRs are also crucial for running generators in parallel. Features like ‘droop mode’ allow generators to share the reactive load by slightly reducing voltage as the load increases. This ensures a balanced power supply from the combined system, which is vital for large applications requiring redundancy and scalable power.
Voltage regulators have evolved into two main types: analog and digital, each with specific strengths.
Analog regulators are traditional units using basic electronic components. They are reliable but less precise, with an accuracy of ±1% to ±2% and a response time of 10-20 milliseconds. They are common in older generators or for less sensitive applications.
Digital regulators use microprocessors for superior performance. They offer impressive accuracy of ±0.25% to ±0.5% and fast response times of less than 1-7 milliseconds, which is essential for protecting sensitive equipment. Digital AVRs include advanced features like remote monitoring and diagnostics, making them ideal for critical facilities. Their precision and features often provide better long-term value despite a higher initial cost.
Here’s a quick comparison:
| Feature | Analog AVRs | Digital AVRs |
|---|---|---|
| Accuracy | ±1% to ±2% regulation | ±0.25% to ±0.5% regulation |
| Response | 10-20 milliseconds | Less than 1-7 milliseconds |
| Features | Basic voltage control | Remote monitoring, diagnostics, programmable settings, droop mode, cross-current compensation |
| Ideal Use | Older generators, less sensitive loads | Critical facilities, sensitive electronics, paralleling multiple generators, modern applications |
The exciter gets its power in three primary ways:
Self-Excited (Shunt) Systems: In this simple, economical method, the AVR powers itself from the main stator’s output. While cost-effective, these systems can struggle with heavy motor starting or fault conditions, as a voltage dip can starve the AVR of power. They rely on residual magnetism to start.
Permanent Magnet Generator (PMG) Systems: A PMG is a small, independent generator that provides a dedicated power source for the AVR. This isolates the AVR from the main generator’s output fluctuations, making PMG systems extremely stable and ideal for critical applications like hospitals or data centers that need to handle heavy motor starting.
Auxiliary Winding (AUX) Systems: This method uses a separate winding within the main stator to power the AVR. It’s a middle ground, offering more stability than a self-excited system but less than a PMG, making it a good choice for many commercial applications.
The right system depends on the application’s criticality, budget, and load requirements. At MTS Power Products, we can help you select the right solution, including our advanced McPherson Controls line.
A failing voltage regulator usually provides warning signs. Spotting them early through regular generator voltage regulator testing can prevent costly equipment damage and unexpected power outages.
Flickering lights are often the first clue. If lights dim and brighten randomly or your voltage meter readings are erratic, the AVR is likely struggling to maintain a steady output.
An alarming symptom is the generator running but producing no power. This usually means the AVR is not sending excitation current to the field windings.
Unstable voltage readings during testing are another red flag. Wildly swinging voltage, or readings that don’t match specifications, point to the AVR. No voltage output at all is the most severe symptom, indicating complete failure.
An overheating AVR often produces a distinct burnt smell. If you notice this odor or the AVR housing is unusually hot after shutdown, it needs immediate attention.
The most expensive symptom is equipment damage. A faulty AVR can supply too little power or dangerously high voltage (up to 250 volts), destroying sensitive electronics and appliances.
Modern generators often have built-in alarm triggers and diagnostic codes. A control panel warning about voltage or excitation issues is a clear sign to check the voltage regulator.
Catching these symptoms early with regular generator voltage regulator testing can prevent major failures and costly damage. A timely replacement can save thousands of dollars.
Safety is paramount for generator voltage regulator testing. Generators produce dangerous levels of electricity, so proper preparation is critical.
Always turn off the generator and let it cool. For gasoline models, disconnect the spark plug wire to prevent accidental starts. Consult your operator’s manual for model-specific safety procedures.

The first step in generator voltage regulator testing is a thorough visual inspection, as the problem is often easy to spot.
First, locate the voltage regulator. On mid-to-large commercial generators, it’s usually in the main control box. On industrial generators, it’s often in the alternator terminal box. For smaller portable units, check under the alternator’s rear cover.
Once located, inspect the AVR closely. Check for loose wires or connections by giving them a gentle tug to ensure they are secure.
Corrosion is another common issue, especially in humid climates like South Florida. Look for green or white powder on terminals.
Also check for physical damage like cracks, burn marks, or swollen components. Dust and debris can trap heat and cause overheating, so clean the unit gently with compressed air.
You only need a few basic tools for effective generator voltage regulator testing.
This basic multimeter test is the core of generator voltage regulator testing. It shows if the generator is producing voltage and if the AVR is regulating it.
With the generator off and cool, connect your multimeter’s black lead to a solid ground on the chassis. If present, check the starting battery first; a healthy 12V battery should read above 12.4V.
Safely start the generator and let it warm up. Set your multimeter to AC voltage and connect the red lead to a main output terminal. A 120V system should read 115-125 volts. Other systems (240V, three-phase) will have different expected ranges.
Interpret the readings: Low voltage (e.g., below 100V for a 120V system) or no voltage is a red flag. Excessively high voltage (e.g., over 130V) suggests the AVR has failed. Wildly fluctuating voltage means the AVR cannot regulate properly.
Next, consult the wiring diagram to find the exciter field winding terminals. Set your multimeter to DC voltage and connect to these terminals. You should see a fluctuating DC voltage (typically a few volts up to 20-30V DC) as the AVR works.
No DC voltage, or a voltage stuck at max/min, indicates the AVR is not regulating. These tests provide crucial data on your system’s health. You can learn more from scientific research on failure impact.
If basic tests point to excitation problems, perform an excitation test (also called “flashing the field”). This test determines if the generator’s core components can produce power when properly excited.
Extreme caution is required as this test uses external power. With the generator off and cool, disconnect the AVR wires leading to the exciter field windings (often labeled F1 and F2; check your manual).
Using a 12V DC power source (like a car battery), connect positive to the positive field winding terminal and negative to the negative. Connect for only 1-2 seconds maximum. A small spark is normal. This briefly energizes the windings to build residual magnetism.
Immediately remove the 12V source, reconnect the AVR wires, restart the generator, and measure the AC output voltage again.
If voltage returns to normal, the generator’s main components are healthy, and the AVR is the problem. The test proves the AVR was not providing proper excitation.
If voltage still doesn’t build, the problem is deeper than the AVR. Your next step is a brush inspection (if applicable). Worn brushes or dirty slip rings can prevent current flow and may need cleaning or replacement.
For stator and rotor checks, test winding continuity with your multimeter set to ohms. An “OL” (open loop) reading means a broken winding; very low resistance suggests a short. This level of testing may require professional help. Our team at MTS Power Products can guide you or recommend replacement parts from our McPherson Controls line.
After completing your generator voltage regulator testing, you need to interpret the results to determine the next steps.

Each multimeter reading tells a story about your generator’s health. Consistently low voltage (e.g., 90V instead of 120V) usually means the AVR isn’t providing enough excitation current.
Conversely, consistently high voltage (e.g., 150V instead of 120V) is dangerous. It means the AVR has failed and is flooding the system with power. Shut down the generator immediately to prevent equipment damage.
No voltage after an excitation test points to a dead AVR or a deeper generator problem. Fluctuating voltage means the AVR can no longer regulate properly.
An “OL” (Open Loop) reading on your multimeter indicates a broken circuit, likely from a broken wire, loose connection, or failed component.
Adjust or replace? Unlike older mechanical regulators, modern electronic AVRs are typically replaced, not repaired. If your generator voltage regulator testing shows clear faults and the excitation test worked, replacement is your best option.
Choosing the right replacement AVR is crucial for your generator to function correctly.
The most critical step is matching specifications. The replacement AVR must match your generator’s kW rating, provide the correct field current output, and sense the correct power phase (single-phase or three-phase).
In South Florida, environmental factors like heat, humidity, and salt air are tough on electrical components. This makes your choice of replacement critical.
We recommend AVRs with conformal coating, which acts as a protective shield for the electronics. This coating protects against moisture and corrosive salt air, dramatically extending the regulator’s life.
At MTS Power Products, we understand these local challenges. Our McPherson Controls line is engineered for demanding conditions. Our Miami location near the airport and port allows us to ship replacements quickly, worldwide.
Here are the most common questions we receive about voltage regulators and generator voltage regulator testing.
We recommend a layered maintenance approach to keep your AVR running smoothly.
A quality voltage regulator typically lasts 7 to 10 years, though this varies with use and environmental conditions.
Heat, vibration, and humidity shorten an AVR’s lifespan. That’s why our McPherson Controls line features conformal coatings and durable materials to withstand these challenges.
Pro-tip: For critical applications, consider proactive replacement after 7-10 years. It’s better to replace an AVR during scheduled maintenance than during an emergency power outage.
Modern voltage regulators are generally not user-repairable.
Modern digital AVRs are complex, sealed units with microprocessors and surface-mount components that require specialized equipment for repair. Unlike old mechanical regulators, they are designed as non-serviceable systems.
The complexity and cost of repair usually exceed the price of a new unit. A replacement offers the latest technology, a full warranty, and peace of mind.
When your generator voltage regulator testing confirms a fault, replacement is the smartest and most reliable long-term solution.
Your generator’s voltage regulator is a small but essential component that works to keep your power steady and safe, protecting your expensive equipment.
Regular generator voltage regulator testing is an insurance policy against costly failures. The simple steps of visual inspection, multimeter voltage checks, and the excitation test can save you thousands in equipment replacement and prevent downtime during an outage.
Most problems provide warning signs like flickering lights or unstable voltage. By catching these issues early through proactive maintenance, you prevent them from becoming serious.
In South Florida, reliable backup power is critical for protecting businesses from downtime and keeping families safe during hurricane season. At MTS Power Products, we provide the highest quality power generation solutions you can trust.
Our McPherson Controls line embodies our commitment to advanced technology and rock-solid reliability. These voltage regulators are engineered to handle our demanding climate and deliver the consistent performance your applications require.
Our Miami location near the airport and port allows us to serve customers worldwide. We are your partners in keeping the power on.
Don’t wait for an outage to find a problem. Ensure your power security with regular testing and quality components.
Explore our full range of high-quality generator voltage regulators and give yourself the peace of mind that comes with truly reliable backup power.